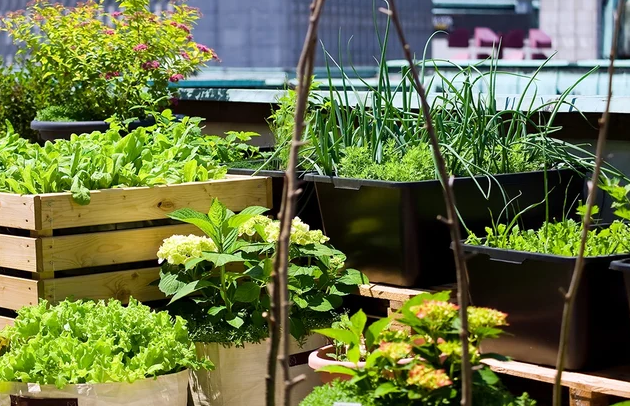
Building a Model for a Vertical Farming System in Urban Spaces involves designing an efficient, space-saving agricultural solution that integrates technology to grow crops in vertically stacked layers. This model is ideal for addressing urban food demands while minimizing land use and resource consumption. Below is a structured guide to creating a vertical farming system.
1. Objectives and Goals
- Primary Purpose: Produce fresh, healthy, and pesticide-free crops within urban spaces.
- Key Features:
- High resource efficiency (water, energy, and nutrients).
- Scalability for different urban settings (residential, commercial, or industrial).
- Automated monitoring and control.
- Target Audience: Urban residents, restaurants, grocery stores, and community food programs.
2. Types of Vertical Farming Systems
Choose a system based on space availability, budget, and crops to be grown:
- Hydroponics: Plants grow in a nutrient-rich water solution.
- Aeroponics: Plants are suspended in air with nutrients sprayed onto roots.
- Aquaponics: Combines hydroponics with aquaculture (fish farming) for nutrient cycling.
- Soil-Based Systems: Traditional growing methods in soil within vertical setups.
3. Key Components of the System
A. Structural Framework
- Use modular designs made from durable, lightweight materials (e.g., aluminum or PVC).
- Design for scalability, with adjustable shelves or racks to optimize vertical space.
- Incorporate movable or rotating layers to ensure even light distribution.
B. Grow Lights
- Type: LED grow lights with adjustable spectrum (red, blue, and white light) for optimal plant growth.
- Placement: Position lights evenly to cover all layers without shadows.
- Efficiency: Use energy-efficient LEDs to reduce power consumption.
C. Irrigation System
- Hydroponics/Aeroponics:
- Use water pumps, tubing, and nozzles for nutrient delivery.
- Automation:
- Install sensors to monitor water levels, pH, and nutrient concentration.
- Use timers or controllers for regular irrigation cycles.
- Water Recycling:
- Design the system to collect and reuse excess water.
D. Nutrient Management
- Use pre-mixed hydroponic nutrient solutions or customize based on crop requirements.
- Monitor and adjust pH (ideal range: 5.5–6.5) and Electrical Conductivity (EC) for optimal plant growth.
E. Environmental Control
- Temperature and Humidity:
- Install HVAC or climate control systems to maintain ideal conditions (20–25°C and 60–70% humidity).
- Air Circulation:
- Use fans or blowers to prevent mold and ensure even CO₂ distribution.
- CO₂ Enrichment:
- Enhance growth by maintaining CO₂ levels around 800–1,200 ppm.
F. Monitoring and Automation
- Integrate IoT sensors for real-time monitoring of:
- Temperature, humidity, and light intensity.
- Water levels, pH, and nutrient concentration.
- Use a central control system (e.g., Arduino or Raspberry Pi) to automate lighting, irrigation, and environmental conditions.
- Provide remote access via mobile apps or web interfaces.
G. Crop Selection
- Choose fast-growing, high-yield crops suitable for vertical farming, such as:
- Leafy Greens: Lettuce, spinach, kale, and arugula.
- Herbs: Basil, parsley, mint, and cilantro.
- Small Fruits: Strawberries, cherry tomatoes.
- Other: Microgreens, peppers.
H. Waste Management
- Compost plant waste or repurpose it for organic fertilizer.
- Recycle or treat water to minimize waste.
4. Steps to Build the Model
A. Planning and Design
- Space Analysis: Measure the available space and plan the layout (e.g., wall-mounted racks or standalone towers).
- System Design: Choose the type of vertical farming system (e.g., hydroponic NFT, aeroponic misting towers).
- Power Source: Plan for energy-efficient systems, considering solar panels or grid electricity.
B. Construction
- Assemble the structural framework and install the shelving units.
- Set up the irrigation and drainage systems.
- Install grow lights and connect them to the control system.
- Place IoT sensors for environmental monitoring.
C. Testing
- Run the system without plants to check for leaks, proper water flow, and even light distribution.
- Calibrate sensors and controllers.
D. Planting
- Start with seedlings or seeds in growth mediums like coco coir, Rockwool, or clay pellets.
- Monitor the plants daily for growth and health.
5. Maintenance
- Regularly clean the irrigation system to prevent clogs or algae buildup.
- Monitor and refill nutrient reservoirs.
- Check for pest infestations and apply organic solutions if needed.
- Replace grow lights and repair components as necessary.
6. Cost and Scalability
- Initial Setup Cost: $500–$5,000 depending on size and automation level.
- Operating Costs: Includes electricity, nutrients, and maintenance.
- Revenue Potential: Sell fresh produce to local markets, restaurants, or individuals.
7. Benefits of Vertical Farming
- Space Efficiency: Grows more crops in less space compared to traditional farming.
- Resource Savings: Uses 70–90% less water than soil-based farming.
- Year-Round Production: Independent of seasonal changes or weather conditions.
- Urban Integration: Brings agriculture closer to consumers, reducing transportation costs and emissions.
8. Advanced Features (Optional)
- AI Integration: Use machine learning to optimize growth conditions based on historical data.
- Renewable Energy: Incorporate solar panels to power the system.
- Community Integration: Design shared systems for urban neighborhoods to promote sustainable living.
Example Use Case
- Scenario: A 500-square-foot rooftop farm in a city.
- Solution: Install a hydroponic vertical farm with LED lighting, IoT sensors, and automated controls. Grow leafy greens and herbs for sale to local restaurants, achieving high productivity with minimal environmental impact.
Would you like assistance with specific aspects, such as selecting sensors, creating a prototype, or designing a business plan for the system?

Also Read :
